Showing posts with label sewing. Show all posts
Friday, January 8, 2016
Monday, February 3, 2014
Saturday, June 1, 2013
SINGAPORE SHOPPING HAUL
For those readers who enjoy looking at shopping hauls (as I do). Here are my purchases from Singapore, in no particular order. And, before you judge me for being materialistic, many of these were bought as gifts for up coming birthdays.
I saw many ladies in Singapore wearing these very comfortable looking flip flops. I finally found them at Footin in Vivo City, just as we were dashing to the airport. They are amazingly squishy and so comfy to wear. I wish I had bought more pairs now.
Some colourful handbags from Bugis Street Markets.
Tea from Chinatown, which I bought mainly for the gorgeous tins.
Really love drinking this Raffles tea.
Various items of Japanese make-up.
Stationery from Kinokuniya.
The obligatory Japanese craft books from Kinokuniya. A girl can't have too many craft books. I've already made a couple of the Disney beaded creations, and about to start on sewing bag now.
We are thinking about buying a puppy for our son and training it to become a diabetic alert dog.
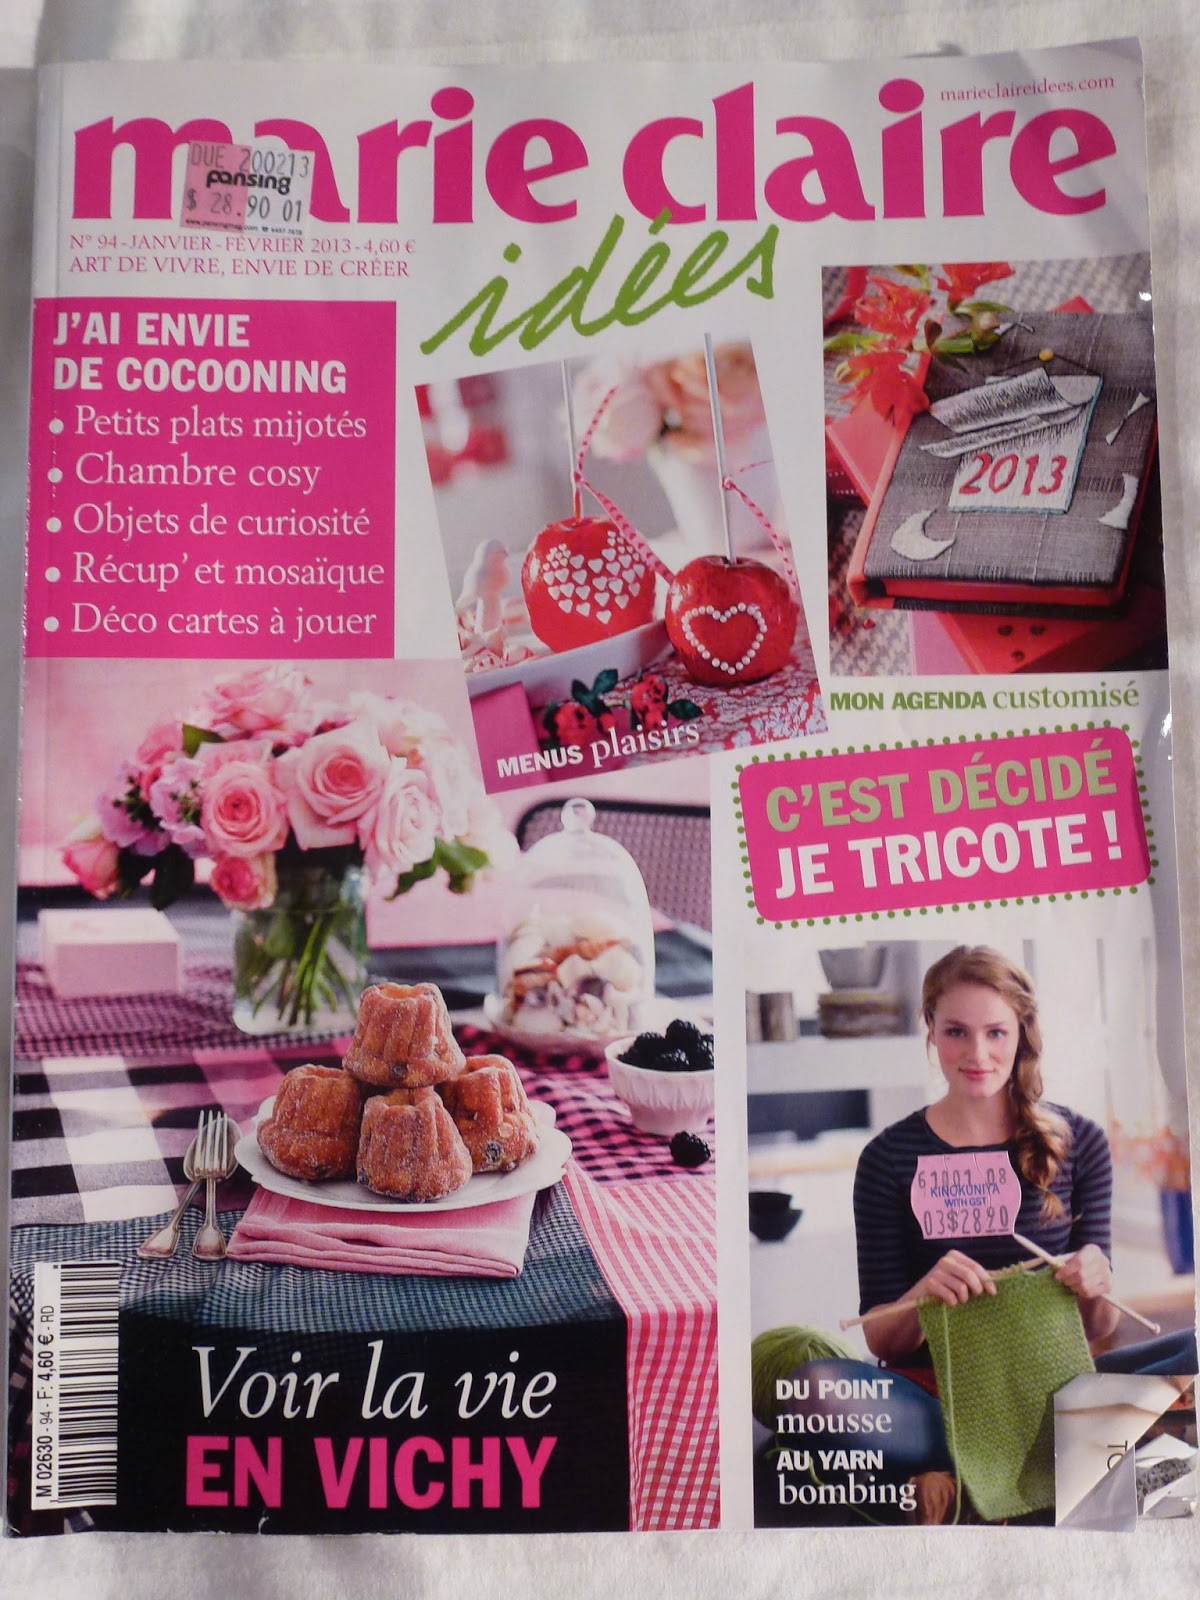
French craft magazines are also a favourite of mine.
Gorgeous embroidered greeting cards from Tangs, which I plan to frame.
Earrings from Forever 21
Ring from Denny at Singapore airport.
My favourite Japanese shampoo - smells like peaches.
From Muji. Intend on using the acrylic storage container as a display case for my beaded cakes.
More shopping haul next post.
Labels:
Japanese crafts,
sewing,
Singapore 2013,
SIngapore shopping,
souvenirs,
stationery
Wednesday, December 12, 2012
Monday, November 12, 2012
Saturday, November 10, 2012
Saturday, October 20, 2012
Wednesday, October 17, 2012
Sakura Bag
I made this bag for my daughter's Japanese teacher as a "thank you for being my school teacher" gift. Four more weeks, then my daughter will have finished school. How is it possible that 12 years of schooling has passed? It's hard to imagine when your child is a newborn, that time will pass so quickly. But the education is not entirely over - there is still university next year. That's when all the fun begins! (not for me - I have to pay the uni fees)
On a completely different topic, I went for a walk this evening on the road and saw a snake in the gutter. I loathe snakes. I don't like any animal that is not cute and fluffy. Yes, Australia has alot of venomous creepy crawlies. I guess that's to be expected considering I live near a conservation park and golf course. On the plus side, there are many kangaroos in my area too and in my children's primary school, there were quite a few koalas that lived in the school gum trees. Hate reptiles - love koalas.
Sunday, September 16, 2012
Friday, July 13, 2012
Wednesday, July 11, 2012
Monday, June 11, 2012
Thursday, May 17, 2012
Let's Make a Cute Little Pouch
I made a cute little pouch to match the backpack I made in my last post.
Here are the instructions....
Materials
Main fabric
contrast/lining fabric
thick interfacing
20cm zipper
8cm of grossgrain ribbon
The pattern includes 1cm seam allowance, unless stated differently. Piece A has rounded corners, 3cm from each edge. Use a cup as a template to get a perfect curve. Cut the follwoing pieces:
Piece A - 1 each from main, contrast and interfacing
Piece B - 2 each from main, contrast and 1 of interfacing
Piece C - 1 each from main, contrast and interfacing
Piece A
Piece B
Piece C
Apply interfacing to each main fabric piece.
Press under 1cm on both pieces of B.
Baste each of B to the top of the zipper, placing each folded edge 0.5cm from the centre of the zipper. Top stitch in place.
Fold the ribbon in half, and baste to the bottom end of the zipper, using a 1.5cm seam.
With right sides together, sew piece B to C using a 1.5cm seam.
Turn right side out, and topstitch.
Lining up the centres of each piece and with right sides together, sew Piece A to B and C, use a 1cm seam. Clip the corners to ease around the bends.
Repeat with the other piece A.
Contruct the lining in the same manner as the pouch, omitting the zipper of course.
The finished lining.
Insert the pouch into the lining with wrong sides together , as above. Hand stitch the lining to the zip.
Turn right side out. I added a Minnie Mouse teapot charm to my zipper. (from Parts Club bead store)
The finished pouch. I hope my niece likes it.
Have fun making one!
Subscribe to:
Posts (Atom)